微信小程序template模板的使用
发布时间:2017-12-01 15:16 所属栏目:小程序开发教程
首先看一些官方的一些介绍。模板:模板功能是通过对template 标签的属性 name=”” 去创建不同模板,通过is=”name的值”来使用。通过上面两张图,大概能看出,使用模板可以为大量类似的布局带来便利。下面看一下我 ...
首先看一些官方的一些介绍。
模板:模板功能是通过对template 标签的属性 name=”” 去创建不同模板,通过is=”name的值”来使用。


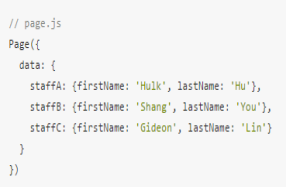
通过上面两张图,大概能看出,使用模板可以为大量类似的布局带来便利。下面看一下我自己的一个Demo.
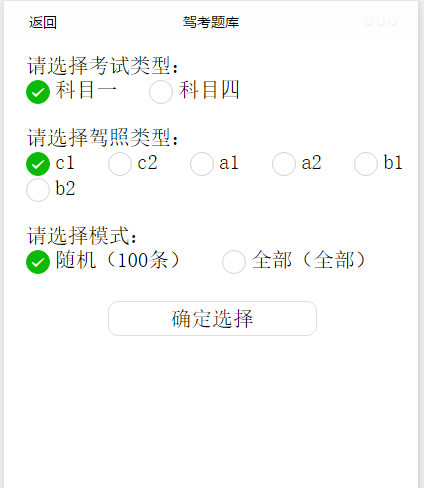
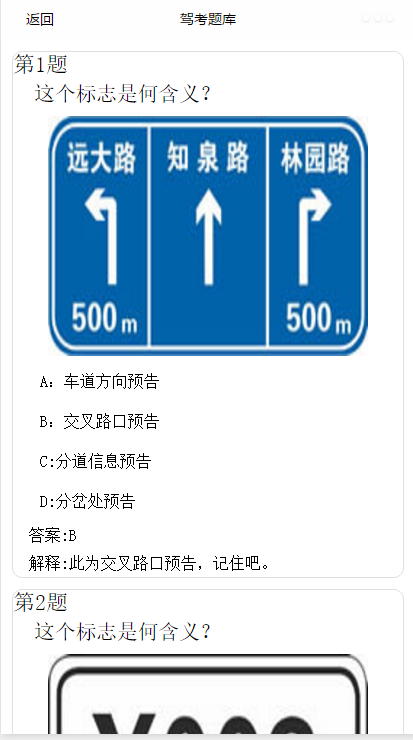
先放出效果图(数据来自聚合数据)


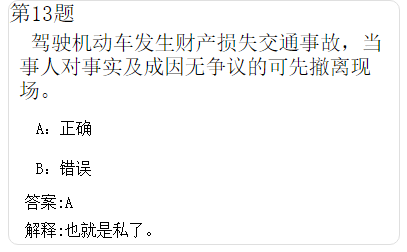
可以看到,除了选项个数的差别之外,其他布局是相同的。
下面的每一道题的模板。
<template name="carItem">
  <view class="timu">
    <view class="title">第{{item.id}}题</view>
    <view class='question'>{{item.question}}</view>
    <view class="img" wx:if="{{item.url!=''}}"><image src="{{item.url}}" /></view>
    <view class='select'>A:{{item.item1}}</view>
    <view class='select'>B:{{item.item2}}</view>
    <view class='select' wx:if="{{item.item3!=''}}">C:{{item.item3}}</view>
    <view class='select' wx:if="{{item.item4!=''}}">D:{{item.item4}}</view>
    <view class='content'>答案:{{item.answer}}</view>
    <view class='content'>解释:{{item.explains}}</view>
 </view>
</template>
在我们上面的代码中,除了使用template标签定义模板外,还是用了条件渲染。例如当题目为判断题的时候。CD选项是没有数据的,所以就不能显示出来,我们可以通过if语句判断是否为空来决定显示与否。
下面放出代码。
CarUtils.js
/**
 * 网络请求
 */
function request(url, subject, model, testType, success, fail) {
    if (typeof success != 'function' || typeof fail != 'function') {
        return
    }
    wx.request({
        url: url,
        data: {
            key: "5f0c9315c43385f5baaa3f49b79caa8f",
            subject: subject,
            model: model,
            testType: testType,

        },
        success: function (res) {
            if (res.data.error_code == 0) {
                console.log("获取数据成功"),
                    success(res.data)
            } else {
                wx.showModal({
                    title: '提示',
                    content: 'res.data.reason'+'请重新选择',
                    success: function (res) {
                        if (res.confirm) {
                            console.log('用户点击确定')
                        }
                    }
                })
                console.log("失败原因" + res.data.reason)
                fail(res.data.reason)
            }
        },
        fail: function () {
            fail('网络出现问题')
        },
    })
}


