作者:秀杰,授权地址
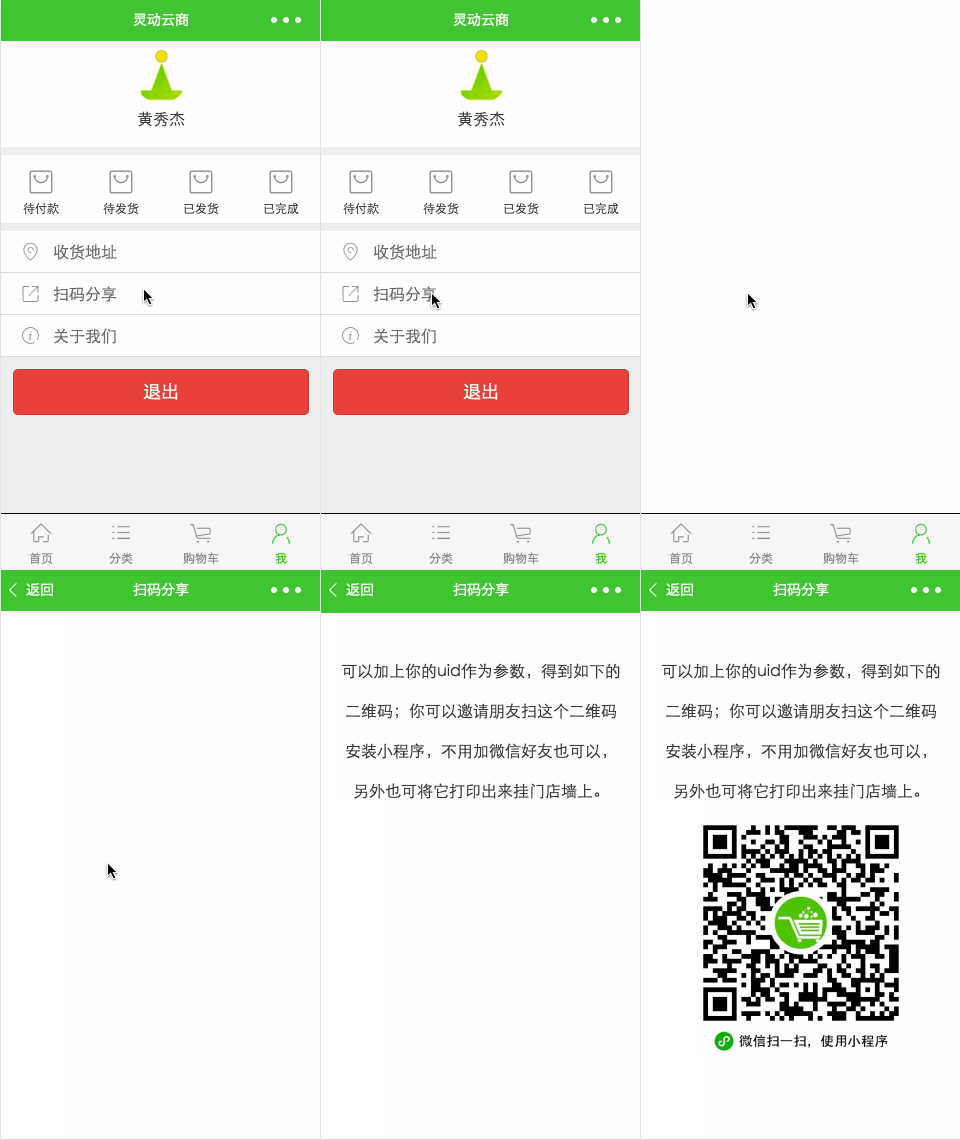
效果图:

场景:生成一个带用户参数的二维码,显示在小程序端或打印输入,其他人扫码进入识别用户来路
**后端:**php实现
调用接口:https://api.weixin.qq.com/cgi-bin/token?grant_type=client_credential与https://api.weixin.qq.com/cgi-bin/wxaapp/createwxaqrcode
小程序端:<image src="https://youdomain.com/getQRCode?uid=123456" />,无js调用
文档出处:https://mp.weixin.qq.com/debug/wxadoc/dev/api/qrcode.html
注意点:二维码生成的过程与小程序端逻辑无关,在后端实现生成图片输出给<image>即可。
由于代码比较简单,就直接上代码了
-
// 服务端生成图片
-
public function getQRCode() {
-
// 获取access_token
-
$accessTokenObject = json_decode(file_get_contents('https://api.weixin.qq.com/cgi-bin/token?grant_type=client_credential&appid='.WxPayConfig::APPID.'&secret='.WxPayConfig::APPSECRET));
-
// 拼接微信服务端获取二维码需要的url,见文档https://mp.weixin.qq.com/debug/wxadoc/dev/api/qrcode.html
-
$url = 'https://api.weixin.qq.com/cgi-bin/wxaapp/createwxaqrcode?access_token=' . $accessTokenObject->access_token;
-
$uid = $this->input->get('uid');
-
$json = '{"path": "pages/index/index?"' . $uid . ', "width": 430}';
-
$ch = curl_init();
-
//设置超时
-
curl_setopt($ch, CURLOPT_TIMEOUT, 60);
-
//如果有配置代理这里就设置代理
-
if(WxPayConfig::CURL_PROXY_HOST != "0.0.0.0"
-
&& WxPayConfig::CURL_PROXY_PORT != 0){
-
curl_setopt($ch,CURLOPT_PROXY, WxPayConfig::CURL_PROXY_HOST);
-
curl_setopt($ch,CURLOPT_PROXYPORT, WxPayConfig::CURL_PROXY_PORT);
-
}
-
curl_setopt($ch,CURLOPT_URL, $url);
-
curl_setopt($ch,CURLOPT_SSL_VERIFYPEER,TRUE);
-
curl_setopt($ch,CURLOPT_SSL_VERIFYHOST,2);//严格校验
-
//要求结果为字符串且输出到屏幕上
-
curl_setopt($ch, CURLOPT_RETURNTRANSFER, TRUE);
-
//设置header
-
header('Content-Type: image/jpeg');
-
//post提交方式
-
curl_setopt($ch, CURLOPT_POST, TRUE);
-
curl_setopt($ch, CURLOPT_POSTFIELDS, $json);
-
//运行curl
-
$data = curl_exec($ch);
-
//返回结果
-
curl_close($ch);
-
echo $data;
-
}
header设置为header('Content-Type: image/jpeg');然后echo服务端返回的二进制data就可以了。
源码下载:http://git.oschina.net/dotton/lendoo-wx,本文涉及代码存于/pages/member/share文件夹中。
更多信息请看: 跳坑《九十》带参数二维码相关知识(带参二维码)40159错误
二:后台交互/wx.request({})方法/渲染页面方法
分享者:霓虹,原文地址 的后台获取数据方式get/post具体函数格式如下:wx.request({})
-
data: {
-
logs:[]
-
},
-
onLoad:function(){
-
this.getdata();
-
-
}
-
getdata:function(){//定义函数名称
-
var that=this; // 这个地方非常重要,重置data{}里数据时候setData方法的this应为以及函数的this, 如果在下方的sucess直接写this就变成了wx.request()的this了
-
wx.request({
-
url:'http://www.phonegap100.com/appapi.php?a=getPortalCate',//请求地址
-
data:{//发送给后台的数据
-
name:"bella",
-
age:20
-
},
-
header:{//请求头
-
"Content-Type":"applciation/json"
-
},
-
method:"GET",//get为默认方法/POST
-
success:function(res){
-
console.log(res.data);//res.data相当于ajax里面的data,为后台返回的数据
-
that.setData({//如果在sucess直接写this就变成了wx.request()的this了.必须为getdata函数的this,不然无法重置调用函数
-
-
logs:res.data.result
-
-
})
-
-
},
-
fail:function(err){},//请求失败
-
complete:function(){}//请求完成后执行的函数
-
})
-
},
wxml页面:
-
<view wx:for="{{logs}}" wx:for-item="value">
-
{{value.catname}}
-
</view>
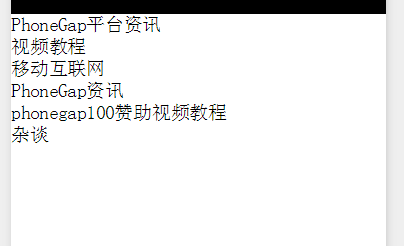
页面结果:

|


